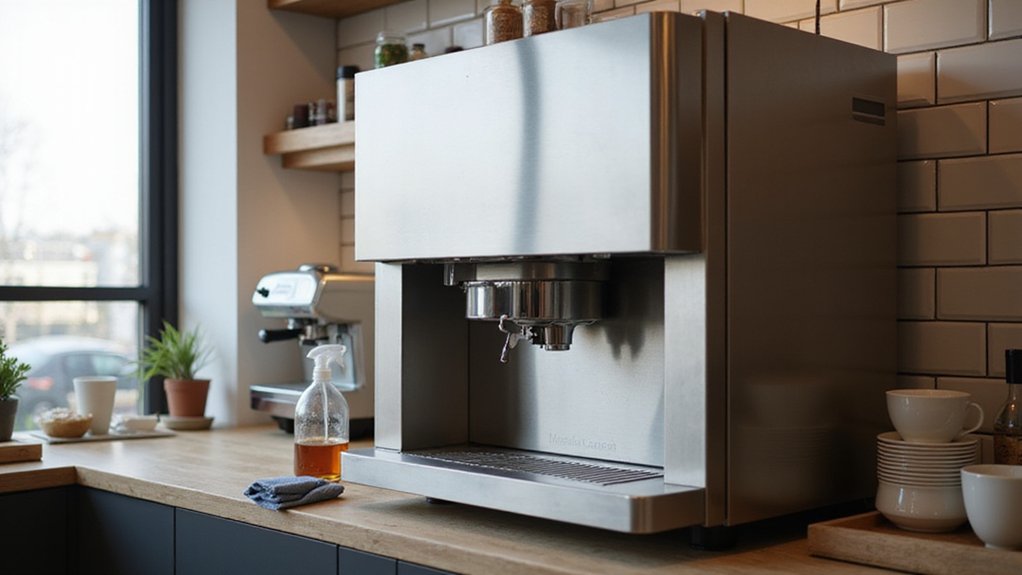
Cleaning a commercial ice machine can seem daunting, but with the right steps, you can keep it sanitary and running efficiently.
A proper deep clean involves just a few key products and a systematic approach, ensuring all interior surfaces are thoroughly sanitized.
Follow along, and you’ll be able to maintain your machine’s performance and quality ice easily.
What You’ll Need for a Fast Ice Machine Clean
To speed through your commercial ice machine cleaning, you’ll need the right tools and chemicals ready before you start. Grab food-grade cleaning chemicals—such as a nickel-safe descaler or sanitizer specifically made for ice machines. Never substitute household products because they can damage components and leave harmful residues. Have your safety equipment on hand, including rubber gloves to protect your hands from harsh chemicals and eye shields to guard against splashes during descaling. Always read the product label and safety data sheet beforehand to ensure proper usage. Keep descaler and sanitizer separate and avoid mixing them. Use only the recommended amounts to prevent leftover residue or interior damage. For optimal hygiene, cleaning your ice machine should be performed every six months at minimum. Soft brushes are effective for lifting scale, while stiff brushes handle stubborn buildup. Set out clean rags, a bucket for mixing solutions, and towels for drying. Ensure a clean water supply and enough bin space to dispose of old ice before you begin to make the process smoother. For persistent mineral scale, a simple vinegar soak can be an effective household alternative. If you prefer commercial-grade tools, consider using a high-quality Boston shaker for mixing cleaning solutions rather than household containers.
Run the Built-In Clean Cycle After Setup
Once the main cycle completes, a rinse cycle follows to remove leftover chemicals. Some models require multiple water-only rinses to fully clear residues. This step is critical to prevent chemical traces from affecting ice quality. If necessary, perform a separate sanitizing step afterward, then rinse again before turning the machine off. Discard the first batch of ice produced after cleaning if the procedure specifies. Following this process guarantees the system is clean and your ice remains safe and pure, and using a non-toxic cleaning solution is safest to avoid tainting the ice with chemical aftertastes. To maintain long-term performance, regularly soak the filter in a vinegar solution to dissolve mineral buildup. For the kettle itself, a simple routine using white vinegar can effectively remove scale and prevent reoccurrence.
Scrub and Descale the Bin and Baffles
To effectively scrub and descale the bin and baffles, start by emptying the bin completely and clearing the surrounding area to prevent debris from settling back onto cleaned surfaces. Apply a manufacturer-approved descaler to the bin liner, door liner, chute, and baffle. Mix the descaler at the label-recommended rate, usually 5 to 6 ounces per gallon of water, and let it sit for at least 20 minutes to loosen mineral buildup. Use a nylon brush—metal tools are too abrasive and can damage surfaces—to thoroughly scrub the interior of the bin, paying close attention to corners, seams, and hard-to-reach areas. Flip the baffle and scrub both sides, as scale often collects along edges and mounting points. For stubborn scale, soak the baffle and thumbscrews in a descaling bath for 15 minutes, then scrub again. After cleaning, rinse all components thoroughly with fresh water to remove any remaining residue. For a more enjoyable home experience, consider upgrading to a dedicated frozen drink machine that simplifies cleaning and maintenance. Just as caffeine concentration varies between different cold brew products, the effectiveness of your descaling solution depends on using the correct dilution ratio. Similarly, the choice between cold brew vs espresso often comes down to personal preference for flavor and strength.
Sanitize Every Ice-Contact Surface
After scrubbing and descaling the bin and baffles, you must sanitize all ice-contact surfaces thoroughly. This includes interior hard surfaces that come into direct contact with water or ice, as well as scoops and containers used for handling ice. Start by shutting off water and refrigeration to prevent cross-contamination and let the surfaces cool to room temperature.
Apply an approved sanitizing solution—either a quaternary ammonium compound at 200–250 ppm or a chlorine-based sanitizer at 100–200 ppm. Spray or pour enough sanitizer so every surface becomes completely wet, ensuring full coverage. Maintain a visible wet contact time of at least one minute; this is crucial for effective sanitation. Afterward, drain the surfaces thoroughly without rinsing if the sanitizer label permits, and allow them to air dry. For a countertop ice maker, manufacturers recommend repeating this deep-clean and sanitization process every few weeks. Proper drying inhibits mold and microbial growth, ensuring your ice production remains safe and sanitary. For comparison, the highest-rated thermal carafe brewers are tested for similar long-term durability and performance against mineral buildup. Regular cleaning schedules also ensure your machine delivers nugget ice comparable in quality to top-rated countertop models.
Reassemble and Dry Before Restarting
Before reassembling, ensure all cleaned parts are completely air dried. Moisture on food-zone surfaces can promote contamination if you install components too soon. Take the time to dry thoroughly to reduce this risk before restarting the machine. Similarly, to prevent bacterial regrowth in your personal hydration gear, always let the Owala tumbler lid dry fully before reassembly. For a countertop ice maker, you can also use simple troubleshooting steps to prevent future clogs. Travel mugs and tumblers offer different drink temperature retention levels, which can influence your choice of daily hydration gear.
Inspect the drain plug, reservoir, and interior for cleanliness. Check that the drain path, filter, and spray parts are correctly positioned and free of obstructions. Confirm nothing is blocking the movement of any parts. Only restore power once your reassembly has been verified and everything is in proper order.
Turn the unit back on, restore the water supply, and switch to ice-making mode. Run a standard freezing cycle and then discard the first batch. This process clears out any residual debris or manufacturing residues. Only return your machine to full service after verifying it is operating normally.
Schedule Weekly Spot Checks Between Deep Cleans
Weekly spot checks are essential for catching buildup early and preventing impacts on ice quality. Start by removing the bin and wiping down all interior surfaces with a food-safe cleaner. Look closely for pink, orange, or black slime, which are early indicators of biofilm formation. Then, inspect the air filters and condenser units; restricted airflow from dirt or debris can cause overheating and slow ice production. Don’t forget to check the drain line and water lines for obstructions, mineral deposits, or buildup that could impede flow. Also, examine all seals to ensure they close tightly, preventing warm, humid air from entering. For those also managing other beverage equipment, reviewing best juice dispensers can offer similar maintenance insights for commercial setups. Using a food-safe cleaner approved for ice machines is critical to avoid chemical residue contamination. For equipment requiring consistent brewing temperatures, a cold brew drip coffee maker offers analogous benefits in precision and quality.
Keep detailed records of each inspection, noting the date and any issues found along with corrective actions taken. Detecting problems like persistent scale or unpleasant odors during these routine checks allows you to address them promptly before they evolve into more serious cleaning needs. This quick five-minute weekly practice helps maintain optimal machine performance and reduces the need for extensive deep cleans.