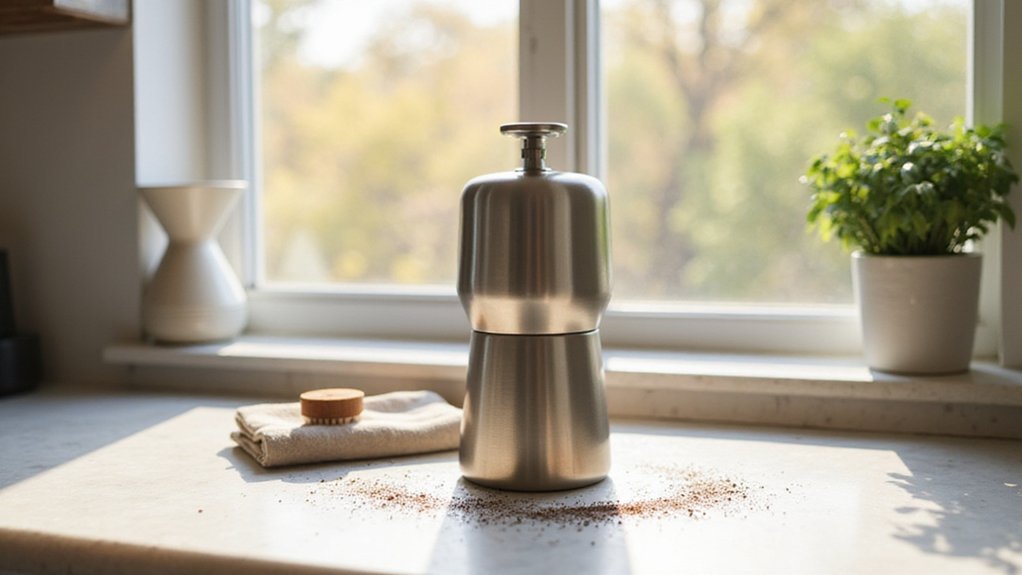
Ever wonder how to keep your coffee grinder tasting fresh and working well? Regular cleaning is key, and it’s simpler than you might think.
With a few quick steps, you can remove built-up oils and grounds that can affect flavor.
By the end, you’ll know how to keep your grinder in top shape for every brew.
Why Coffee Grinder Cleaning Matters More Than You Think
Coffee oils stick to burrs, chutes, and hoppers after grinding. Over time, they oxidize and turn rancid, especially with air exposure. These residual oils can transfer bitter, stale, or papery flavors to freshly ground beans, compromising the taste. Leftover grounds also mix with new coffee, altering the intended flavor profile and reducing clarity. Rancid buildup can disrupt the grind consistency because it creates fine, compacted dust that affects how the burrs perform. This leads to uneven extraction and a dull, flat cup. Even the finest beans cannot overcome the contamination caused by a dirty grinder. For those who prefer serving coffee in style, a clean setup pairs wonderfully with vintage glass pitchers for an elegant presentation. Regular cleaning is essential—neglecting it diminishes flavor quality and impairs grind uniformity. Similarly, a dirty ice machine requires regular maintenance to prevent flavor contamination from stale residues, just as nugget ice makers benefit from frequent cleaning to preserve their crisp, clean taste. For tea lovers, using a clean electric kettle prevents stale residue from affecting the pure flavor of delicate brews.
Tools and Supplies for Cleaning a Coffee Grinder
To effectively clean your coffee grinder, you need a variety of tools and supplies. A soft brush or dedicated grinder brush is essential for dislodging grounds from the burrs without causing damage. Use a stiff-bristled bottle brush for cleaning narrow chutes and hard-to-reach areas. A dry microfiber cloth works well for wiping down the exterior and handling light interior dust. To remove loose coffee dust inside the grinder, a vacuum with a narrow attachment is very useful. For tight spots and corners, wooden skewers or toothpicks help dislodge stubborn debris without damaging the surfaces—avoid metal tools, as they can scratch or ruin the burrs and affect grinding consistency. For those who also use a coffee brewer with a thermal carafe, maintaining clean grinding components helps preserve the freshness of your beans. Using the correct tools also ensures your setup is ready for any event, much like a dedicated punch bowl ensures a polished presentation when entertaining guests.
Optional cleaning tablets like Grindz can absorb oils that build up over time, helping to preserve the freshness of your beans. You might also need a small screwdriver to disassemble certain models—remember to take photos beforehand to ensure proper reassembly. During deep cleanings, wearing gloves and a dust mask can protect you from coffee dust. To catch any small parts or debris, spread a soft towel beneath the grinder. Keep all tools dry throughout the cleaning process because water can cause damage to grinder components and metal parts. Using the right tools and supplies regularly will keep your coffee grinder performing at its best.
Step 1: Unplug, Empty, and Note Your Grind Setting
Unplug the grinder first—disconnecting power eliminates any risk of it turning on unexpectedly while you work inside. Grip the plug firmly, not the cord, and gently pull from the outlet. Next, empty the hopper of all beans; run the grinder until no coffee remains, then tap lightly to clear trapped grounds. Removing leftover beans now prevents residue from falling into the burr area and helps keep your coffee fresh for upcoming uses. Before moving forward, take a quick photo or make a mark to note your current grind setting. This ensures you can easily restore your preferred calibration later. Remember to change settings only when the hopper is empty and the grinder is unplugged. Confirm that the machine is completely disconnected and empty, and that your setting is documented before proceeding. For professional kitchens, commercial ice machines require a similar sanitation schedule to prevent buildup and ensure safe operation.
Step 2: Brush Away Loose Grounds and Coffee Dust
To effectively remove loose grounds and coffee dust, start by unplugging your grinder and emptying its container. Use a dry, stiff brush—such as a dedicated grinder brush or a clean toothbrush—to sweep away debris from all surfaces. Begin with the burrs: brush inside and around the ring burr, then move on to the conical burr, working the bristles into the teeth from top to bottom. Next, clean the chamber walls, exit chute, and threads on the adjustment ring where dust tends to settle. Be sure to reach into ledges and hidden crevices for a thorough clean. Hold parts over a trash can while brushing to catch loose particles and gently tap the grinder to dislodge stubborn debris. For easy mobility during cleanup, consider using a cooler with wheels to transport supplies or collect debris as you work. Just as a margarita machine requires clearing its dispensing spout to prevent blockages, your grinder needs thorough chute cleaning for optimal flow. For consistent results, consider an under-counter model that features self-cleaning cycles for added convenience. Keep cords and wires clear of your workspace to maintain a tidy area. Continue dry brushing until no visible particles remain; this weekly maintenance step keeps grind consistency and efficiency intact without introducing moisture.
Step 3: How to Wash Removable Parts Safely
To wash removable parts of your grinder safely, focus on hand-washing only the items your manual approves, such as the hopper, lid, grounds bin, and removable gaskets. Use warm water and a small amount of mild dish soap, applying gentle pressure with a soft cloth to avoid scratching plastic or coated surfaces. Rinse thoroughly to remove all soap residue, paying special attention to gasket creases and edges where dirt can hide. Never soak parts unless the manual explicitly states it’s safe to do so. For dishwasher cleaning, verify if the parts are labeled dishwasher-safe and suitable for top-rack placement; avoid submerging parts that are not designed for dishwasher use, as high heat and strong detergents can warp or discolor plastic. After washing, towel-dry the parts immediately to prevent moisture from lingering. Allow them to air-dry completely before reassembling your grinder. Consistently following these steps can prevent moisture damage, rust, and clumping, ensuring your grinder remains in good condition. Replace any brittle or warped parts instead of attempting aggressive cleaning that may cause further damage. For a similar mindful approach to customizing a finished item, consider adding a protective finish to wooden surfaces. Understanding the differences between burr and blade grinders can also help you choose a model with parts that are easier to clean. This is similar to how a drain plug seal must be carefully maintained to prevent leaks in water-resistant gear.
Step 4: Deep-Clean the Burr Assembly Like a Pro
To deep-clean the burr assembly, start by unplugging your grinder and emptying the hopper. Remove the top burr by using its usual release method. Before disassembling further, snap a photo of the grind setting to restore it easily later. Use a stiff-bristled brush to thoroughly clean both burr faces, focusing on the teeth, edges, and flutes where residual coffee grounds tend to stick. For hardened buildup in crevices, a toothpick works well without damaging the burrs. For those searching for small containers to store cleaning doses, jello shot cups are a convenient and affordable option. For plastic components that develop stains from oily coffee, a baking soda paste is similarly effective for deep-cleaning without scratching.
Next, vacuum the burr chamber to remove loose debris and use a small brush to clean any threads or hard-to-reach areas. Pay special attention to the exit chute, as older or oilier coffee residue can accumulate there and affect grind quality. Perform a wear inspection by checking the burrs for chips, cracks or rounded teeth, which indicate significant wear. If the burr edges appear dull or damaged, replacing them is necessary because cleaning cannot restore their sharpness. Similar stubborn residue on grinder parts can be tackled with a vinegar and water soak to loosen oils without harsh chemicals.
During reassembly, ensure proper burr alignment by seating the carrier fully without any wobbling. Restore your original grind setting before running a small purge dose to settle everything into place. This step ensures a consistent grind and prolongs the lifespan of your burrs. Proper deep-cleaning not only improves grind quality but also maintains the efficiency of your grinder over time.
Should You Use Grinder Cleaning Tablets?
Grinder cleaning tablets are a practical option for quick maintenance, but they should not replace thorough manual cleaning. They work by dissolving coffee oils and residue from your burrs without needing disassembly. Typically, you grind the tablet through your grinder, then run fresh beans to purge any leftover cleaning residue. This process helps reduce stale odors and bitter buildup, keeping your grinder fresh between deep cleans. Made of natural grains and cereals in a coffee bean shape, these tablets are formulated to dislodge coffee particles and absorb oil residues, effectively removing stale coffee remnants and odors from internal burrs and casings. They can be used alongside a simple cleaning routine for your glass coffee carafe to keep all your coffee gear fresh. However, a deep cleaning routine is still necessary to address mold growth that tablets cannot reach.
However, for best results, you should pair tablet use with regular manual cleaning. While they are especially useful for grinders that are difficult to disassemble, they do not effectively remove all buildup on their own. Using these tablets as part of your routine maintenance can save time and keep your grinder operating smoothly, but they won’t substitute for regular scrubbing and thorough cleanings.
How Often Should You Clean Your Coffee Grinder?
Cleaning your coffee grinder every one to two weeks is a good rule of thumb, depending on how often you use it and the type of beans. If you brew daily or use dark, oily beans, aim for weekly cleaning. Light or moderate use with dry beans can extend to once a month. Heavy espresso users or those switching beans frequently should clean more often. Signs like visible residue, stale flavors, or poor grind consistency indicate it’s time for a deep clean. For burr grinders, a thorough cleaning every three to six months helps maintain optimal performance and flavor. Just as with a well-maintained grinder, vintage glassware with delicate etched flowers requires careful cleaning to preserve its beauty. Regular cleaning prevents buildup, protects your grinder’s lifespan, and ensures your coffee taste stays fresh. For those who frequently pour from a carafe, remember that a clean carafe also prevents stale flavors from affecting your brew. Storing your freshly ground coffee in airtight containers helps maintain its flavor and freshness between uses.
5 Daily Habits to Reduce Coffee Grinder Build-Up
Implementing five simple daily habits can significantly reduce coffee grinder build-up and keep your coffee tasting fresh longer. First, refine your grinding technique by only using a single dose of beans—smaller amounts leave less oil and residue in the burrs, minimizing buildup. Second, immediately brush out the grinding chamber and chute after each use to prevent fines and oils from hardening overnight. Third, add a tiny drop of water to your beans before grinding; this helps reduce static cling that causes grounds to stick inside the grinder. Fourth, store your beans in an airtight container; stale or oily beans create more mess and residue during grinding. Finally, at the end of each day, run the grinder empty for a few seconds and give it a quick brush to clear out any remaining grounds. These quick steps, taken daily, can make a noticeable difference in reducing build-up without the need for extensive cleaning.