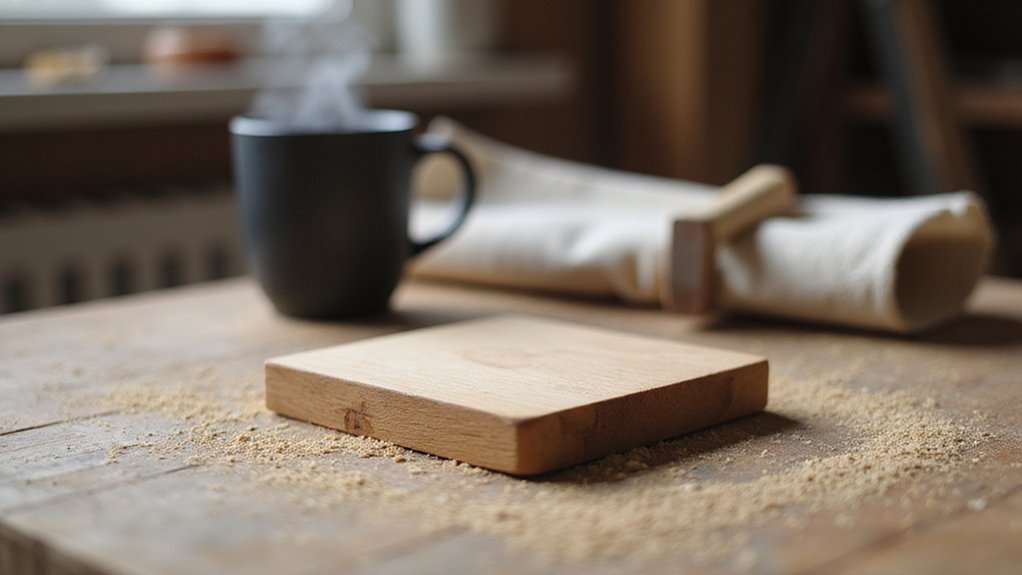
Ever wondered how to turn simple wood into stylish, functional coasters?
With the right materials and a few straightforward steps, you can create durable, attractive coasters that protect your surfaces and add a personal touch to your home.
In this guide, I’ll walk you through every step, from selecting the best wood to finishing your coasters for long-lasting use.
By the end, you’ll know exactly how to make your own set with confidence.
Pick the Right Wood and Prep Your Coaster Blanks
Choosing the right wood and preparing your coaster blanks carefully is essential for a durable and attractive finish. Solid hardwoods like maple, oak, walnut, or cherry are your best options because they resist moisture and wear better than softer woods or plywood. Plywood should be avoided since its layers can delaminate when exposed to moisture. Select straight, defect-free blanks to ensure stability and ease of shaping. Using kiln-dried stock helps minimize warping and movement as the coaster dries and ages, leading to a more consistent final product. For those who prioritize convenience, consider that even the best countertop machines rely on consistent internal components, much like nugget ice makers rely on quality compressors. Similarly, keeping your finished coasters clean is important, and you should follow a cleaning frequency comparable to other regularly maintained household items. If your coasters will be used in a vehicle, you can look for cup holder coasters that are designed for a perfect fit in car interiors.
Contrast different species to add visual interest through varied wood grain patterns. Before starting, remove any dirt from the surface and establish flat reference faces. Then, use a planer or a jointer to true the stock so that it is perfectly flat and square. Sand the blanks starting with 120–150 grit sandpaper, progressing to 220 grit for a smooth finish. Always sand with the grain to prevent scratches that will mar the surface. Once sanding is complete, thoroughly clean off dust before applying a protective finish. Hardwoods absorb finishes well; options like polyurethane provide a strong barrier against moisture, sealing the surface on all sides. Proper preparation ensures your coasters will stand up to daily use and last for years.
Cut Your Coasters to a Consistent Size and Thickness
Once your blanks are prepped and dust-free, the next step is to establish consistent dimensions for your set. Most standard coasters range from 3.5 to 5 inches in diameter, with about 4 to 4.5 inches being practical for everyday use. Choose a thickness between 1/4 and 1/2 inch; 3/8 inch offers a balanced feel that’s neither too flimsy nor too bulky. Start by planing both faces of each blank to remove saw marks and create flat, parallel surfaces. This step ensures the blanks are uniform and wobble-free before final sizing. Using a shaken espresso cocktail requires a well-sealed shaker, but for coasters, a consistent seal on the wood surface is ensured by a flat, even cut. For a similar approach to achieving a smooth finish, you can apply a food-safe sealant as recommended for custom paper cup coatings. For large gatherings, consider using a beverage tub to keep drinks chilled near your finished coasters.
For cutting, set a stop block on your saw fence to ensure each blank is cut to the same length or diameter. Measure each blank after cutting to account for blade kerf and to correct any fence drift. By maintaining precise dimensions, you reduce sanding time later and achieve a professional-looking set with consistency across every piece.
Shape and Sand Your Coasters for a Smooth, Comfortable Finish
Shape and sand your coasters for a smooth, comfortable finish. Once you’ve cut your coasters to size, shape their edges by rounding them over and sand every surface with a progressive grit sequence. Start with an 80 or 100 grit to remove saw marks, then move to 120, 180, and finally 220 grit for a finer, smoother surface. Use a sanding block to maintain consistent edge profiles, and apply light, multidirectional strokes to prevent flat spots. Ensure you sand both faces and edges evenly; uneven sanding creates inconsistent textures. Between grit changes, wipe away dust to avoid scratching the surface with leftover particles. For a comfortable feel in your hand, round the corners first with a medium grit such as 120, then refine with 180 and 220 grit. Never skip more than one grit step—skipping makes it harder to remove deep scratches. The final 220 grit should leave the wood smooth and free of coarse marks. Run your hand across all surfaces to feel for ridges or rough spots, and touch up any areas that need further smoothing with the last successful grit. After sanding, sealing the wood with a food-safe finish will protect the coasters from moisture and heat, similar to how a thermal carafe insulates hot coffee for extended periods without an external heat source.
Apply a Protective Finish to Your Coasters for Moisture Protection
To protect your coasters from moisture, applying a film-forming finish is essential. Polyurethane or epoxy resin are the best options for creating a waterproof barrier. These finishes form a protective film that resists standing water and prevents moisture from seeping into the wood. When selecting a finish, consider the cold brew coffee makers compared for their quality and value, as the same attention to durability applies to your coaster protection.
Start by applying thin, even coats to all surfaces, including the edges. This helps ensure comprehensive coverage and prevents gaps where moisture could enter. Use a brush or spray applicator for smooth application, avoiding over-application that can lead to drips or uneven finish. After each coat, let it dry thoroughly—usually a few hours—then lightly sand to improve adhesion for the next layer.
Repeat the process for two to three coats, allowing sufficient drying time between each. Once the final coat is applied, give the finish a curing period of at least 72 hours, but preferably up to a week, to fully harden. Rushing this step can compromise the protective barrier, making your coasters vulnerable to moisture damage. For similar protection, regular deep cleaning of surfaces is also recommended.
For Segmented Designs: Glue and Clamp Multi-Piece Coaster Blanks
To assemble segmented coaster blanks, you’ll need to glue and clamp multiple pieces carefully to ensure strong, stable joints. Begin by dry-fitting all segments, sorting them into matching groups, and marking their orientation. This step guarantees pattern alignment and allows you to spot any issues before gluing. Apply an even coat of adhesive to both mating surfaces, making sure to spread it across the entire face. You should see visible squeeze-out at every joint, indicating full coverage and the absence of gaps. If the ice maker is malfunctioning, a common cause is a frozen water line that blocks flow to the unit.
Reassemble the pieces promptly to prevent the glue from setting prematurely. Use bar clamps with cauls or clamping boards to hold the segments in place. For tall or irregular assemblies, you may need to employ specialized methods such as clamping shoes that hook onto edges to provide a stable surface and distribute pressure evenly. Start with light pressure and tighten gradually to prevent shifting or misalignment. Throughout clamping, check that the ends remain flush and that all joints stay closed around the perimeter of the blank. Tapping uneven pieces early helps maintain alignment before the glue cures. When handling glued blanks, ensure your workspace setup offers consistent quality and value similar to that found in top-rated drinkware.
Allow the blank to cure fully, ideally overnight, before removing the clamps. Afterward, scrape away any hardened squeeze-out to achieve a clean finish. Proper gluing and clamping are crucial for a seamless, durable coaster that can withstand daily use. You can further enhance the coaster’s longevity by applying a protective sealant to the fully cured surface.