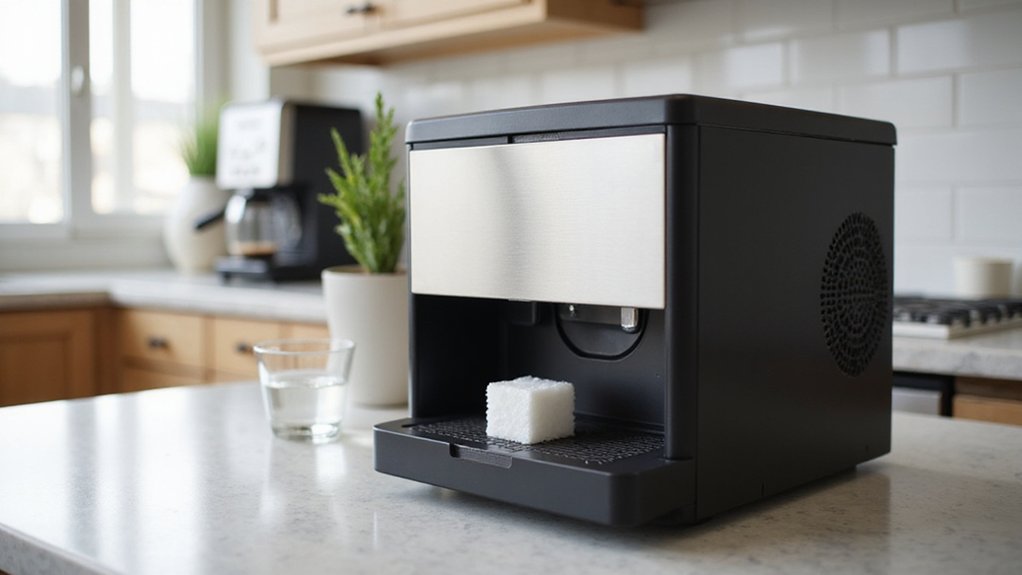
If your portable ice maker isn’t producing ice, the cause could be a simple issue like a power problem, a clog, or dirty sensors.
Often, ensuring it’s plugged in properly and that the water supply is flowing freely can fix the problem quickly.
In this article, you’ll find easy tips to troubleshoot and get your ice maker back to work.
The Ice Maker Won’t Turn On? Check Power and Startup Basics
If your portable ice maker won’t turn on, start by checking whether it’s receiving power. Plug a lamp into the same outlet; if the lamp lights up, the receptacle is functional. Next, inspect the power cord for any fraying, scorch marks, or damage, and ensure it’s firmly connected at both ends. Avoid using extension cords, as they can cause voltage drops that prevent the machine from operating correctly. For users needing a mobile cooling solution, consider models reviewed in guides about Coleman coolers with wheels for durable ice retention during outdoor trips. Comparing the top ice makers can also help you find a more reliable unit for your kitchen. For indoor use, glass cups with lids offer a durable, eco-friendly alternative to plastic for serving chilled beverages.
Perform electrical troubleshooting on the unit itself by pressing the main Power button firmly. Also, check if any rear physical switch is set to On. If there are no lights on the control panel, focus on the power supply rather than water flow, which usually doesn’t affect power. As a reset step, unplug the ice maker for five minutes to reset its controller. After plugging it back in, if it still remains silent, suspect a blown internal fuse or a control board problem. In that case, it’s best to call a technician rather than attempt to repair it yourself.
Water Flow Problems Stopping Ice (And How to Fix)
To address water flow issues caused by inlet contamination, start by inspecting the inlet for clogs or debris. Your water filter may be clogged with sediment; use a bypass plug to test if water flows normally without the filter. Mineral scale or debris in the fill tube can also block water entry—clean it thoroughly with warm water and a gentle brush if needed. Ensuring your setup has proper water circulation can help maintain consistent ice production and prevent freeze-ups.
Check the intake screen at the inlet for any buildup or blockages. If it’s dirty or blocked, remove any debris carefully and rinse it under warm water. Additionally, a jammed pump impeller can restrict water flow—inspect and clear any obstructions. If the inlet valve isn’t opening fully when activated, replacing it can restore proper water flow and ensure your ice maker functions correctly. For ongoing freshness, regularly perform a deep clean cycle using a vinegar solution to remove mineral scale buildup.
Skipping this routine can lead to slimy buildup and reduced efficiency, so schedule a professional sanitation at least twice a year to keep components clear.
Is Your Ice Maker in the Wrong Spot? Temperature and Placement Fixes
Your ice maker’s placement has a bigger impact on performance than water flow issues alone. The ideal ambient temperature range is between 50°F and 100°F. If it’s too hot, like in a sunlit room or near heat sources, your ice maker’s cycle can extend from around 6 minutes to over 15 minutes, reducing efficiency. In contrast, placing it in a freezing garage stalls cycles altogether because the water can’t reach the right freezing point. For example, even high-quality insulated cups require stable temperatures to maintain their contents, just as your ice maker needs a consistent environment to function properly. For portable units, ensuring proper airflow around vents is as critical as stable ambient conditions. Ensure at least 6 to 8 inches of clearance on all sides to allow air circulation and prevent blocked vents, which can dramatically decrease cooling efficiency. Avoid putting your ice maker near stoves, ovens, or direct sunlight because heat forces the compressor to work harder, cutting down your ice production. Always set it on a flat, level, dry surface; tilting causes water distribution problems during operation. Selecting a spot with consistent ambient temperatures further prevents fluctuations that disrupt the freezing cycle. Select a climate-controlled indoor spot away from radiators and moisture for optimal temperature control. A well-ventilated corner in your home will keep your ice maker running smoothly and efficiently.
Dirty Sensors and Scale: Hidden Ice Killers
Dirty sensors and mineral scale buildup can cause your ice maker to stop producing ice even if everything else seems fine. Infrared sensors or water-level prongs may misread the ice bin being full or block flow, which halts the cycle. You’ll notice white deposits on internal parts—a clear sign that mineral buildup from hard water is the cause. Unlike a thermal carafe that relies on insulation to maintain temperature, your ice maker’s sensors are critical for detecting production demand and must stay clean to function.
Begin by cleaning the sensors. Unplug your unit and gently wipe the sensor lenses with a damp cloth or cotton swab. For light scale, apply white vinegar to a soft cloth and wipe the surfaces. Next, descaling the reservoir and water lines involves using a mixture of equal parts vinegar and water. Allow the solution to soak briefly, then run several rinse cycles with clean water to flush out any deposits. Stubborn scale may require repeating this process, and you can also use a soft cloth on the internal reservoir walls for thorough removal. Similar to deep-cleaning steps used on tumblers, a thorough vinegar soak followed by multiple rinses will break down the most resistant mineral layers.
To prevent future issues, switch to filtered or distilled water to reduce mineral content. Regular descaling—about once a month—also helps maintain optimal performance and keeps mineral buildup from recurring.
Full Bin or Jammed Cubes? Why Your Ice Maker Suddenly Stops
A full bin or jammed cubes often causes your ice maker to stop working. Sometimes the bin appears full even when it isn’t. Ice can pile unevenly on one side, triggering the shutoff switch early, even if there’s still space left in the bin. Overfilling physically prevents the harvest cycle from completing until you remove some ice. To keep drinks consistently cold once you have ice, consider a insulated drink cup with lids to maintain temperature. For precise measuring of cocktail ingredients, a jigger tool ensures consistent drink strength. If your ice maker’s water supply is untreated, consider that sediment or mineral buildup from unfiltered water can clog internal components over time, contributing to stoppages.
Ice bridging is another common problem. When moisture causes cubes to fuse into clumps, they can block the sensor or lever, making the machine think the bin is full too soon. If ice gets stuck around the ejector or raker, it can stop the cycle altogether. Removing any stuck cubes manually usually restores operation.
Also check whether the bin is correctly aligned. A bin that is not fully inserted or is warped can interfere with the shutoff system. Reinserting it firmly ensures proper contact. Shake or level the bin to break up clumps of ice. Confirm that the shutoff arm moves freely and isn’t obstructed. These quick steps can often get your ice maker running smoothly again.
Hearing Grinding or No Cooling at All? A Part Likely Failed
If you hear grinding or notice no cooling at all, a mechanical part has likely failed rather than a simple jam. Grinding noises typically indicate a seized water pump impeller, which can be caused by scale buildup that locks it in place. Motor failure is also common and often requires replacing the entire pump assembly. If the compressor hums but the unit does not cool, the internal fan probably has failed, preventing heat from being expelled. No cooling at all, especially if the evaporator feels warm, suggests issues within the sealed system, such as a refrigerant leak or a dead compressor component. However, grinding can also stem from a worn augur bushing that allows the shaft to flop, producing metal dust and noise. Regular use of a vinegar and water rinse can help prevent the scale buildup that seizes these moving parts. This consistent maintenance is similar to how regular descaling keeps heating elements efficient in appliances that boil water quickly. Using the correct tumbler sublimation techniques ensures even heat distribution and prevents similar scale-related failures in heating elements.
Don’t mistake a silent pump that doesn’t produce water flow for a working one. Check whether the impeller actually moves when you gently turn it. Quick diagnostics can help distinguish between pump, fan, and compressor failures, but in all cases, a failed part is usually the culprit rather than a simple jam.
Repair or Replace Your Portable Ice Maker: When to Call It Quits
Deciding whether to repair or replace your portable ice maker depends on the repair cost relative to the machine’s value. If repair estimates reach 40 to 50 percent of the cost of a new unit, replacing the machine is the smarter choice. For budget models priced between $80 and $150, repairs costing over $75 are generally not worth the investment. Major issues such as a malfunctioning compressor, control board failure, or persistent leaks typically warrant immediate replacement, especially after about 18 months of use.
Warranty coverage is also a key factor. While a one-year warranty can cover manufacturing defects, shipping fees ranging from $50 to $70 each way can eliminate any cost savings. Extended warranties costing $25 to $35 often aren’t cost-effective for cheaper units. Once the warranty expires, ongoing repairs—covering parts, labor, and shipping—tend to add up quickly and outweigh the remaining lifespan of the machine. When repair costs surpass half of your ice maker’s value or if failures repeat frequently, replacing it is generally the better, more economical decision.
Six Simple Maintenance Steps That Stop Ice Maker Breakdowns
Regular cleaning is essential to prevent ice maker breakdowns. Wipe the interior weekly with warm water and a mild detergent. Also, wash the bin, scoop, and drip tray separately to remove any residue. Every 2 to 3 weeks, descale the unit using a vinegar solution to dissolve mineral buildup that can halt ice production. Clean your ice machine filters and reservoir screen regularly—soaking removable parts in vinegar helps clear debris and improve water flow. For electric kettles like Breville models, mineral deposits can be removed by boiling a vinegar and water mixture inside the kettle. Keep vents uncovered and wipe dust from the exterior to ensure proper airflow. After cleaning, rinse and air-dry all parts thoroughly before reassembling to avoid leaks. If your manual recommends it, sanitize the bin after descaling to maintain hygiene. During this process, always disconnect the machine from the power outlet before cleaning to ensure safety. Unlike dishwasher-safe party cups, portable ice maker components are typically not dishwasher-safe and should be hand-washed to avoid heat damage to plastic parts. Following this routine helps prevent breakdowns before they happen.