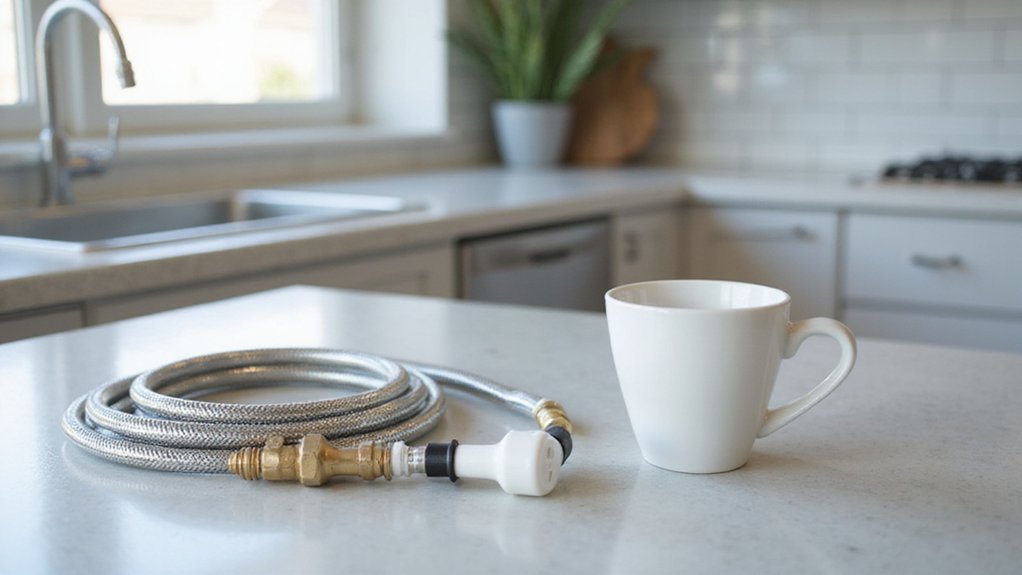
If you’re wondering how to hook up a water line to your ice maker, you’re in the right place. Proper installation ensures your ice maker stays supplied with water without leaks or damage.
You’ll learn how to measure, cut, and connect the tubing safely and efficiently. Keep reading to see step-by-step instructions that make the process clear and straightforward.
Shut Off Water and Unplug the Fridge First
Shutting off the water supply and unplugging the fridge are essential first steps to prevent electric shock and water damage. First, unplug your refrigerator or turn off its breaker to cut power completely—this stops the risk of electrical hazards while you work. Next, close the dedicated ice maker shut-off valve or your home’s main water supply line to halt water flow. This ensures no leaks or flooding occur during maintenance.
After securing the water supply, deactivate the ice maker according to your owner’s manual, typically by a wire arm or switch. Turning it off prevents accidental operation during hookup. Verify that your refrigerator is compatible with the new water line by checking valve locations, as these vary by model. Keep the ice bin cleared for easy access, and then open a nearby faucet to release any line pressure. Flushing the line into a bucket until the water runs clear confirms that the line is free of debris and ready for installation, while a dry floor indicates you are prepared to proceed safely. To ensure you have a reliable supply, you may want to consider best countertop ice makers that offer a separate water reservoir for easier setup. For those who prefer soft, chewable ice, models featuring nugget ice are often the top choice for quality and performance. Follow written installation instructions to avoid death or shock from incorrect setup. For storing ice after production, using top styrofoam cups with lids can help maintain quality and temperature.
Choose a 1/4-Inch Copper Water Line and Quarter-Turn Valve
Choose a 1/4-inch copper water line and quarter-turn valve. The 1/4-inch copper tubing is the standard size recommended by most refrigerator installation instructions. It connects reliably with compression nuts and ferrules, ensuring a secure seal. Copper tubing is preferred over polyethylene because it resists kinking, holds its shape when coiled, and provides a durable, leak-free connection. For the shutoff valve, select a quarter-turn valve. Its durability surpasses older saddle or piercing valves, allowing quick and full flow with just a 90-degree turn. These valves are the modern standard and are typically bundled in installation kits for convenience. Make sure both the copper tubing and the valve match 1/4-inch compression fittings to ensure compatibility. Avoid using 3/16-inch tubing or piercing valves, as they are not recommended in current guides. This combination provides a solid, leak-free foundation for your fridge connection.
Measure the Route and Cut the Tubing Squarely
Measure the full water-line route accurately before cutting the tubing. Map out the entire length from the supply source to the refrigerator, including all turns and bends, rather than estimating the shortest distance. Add extra length for slack, service loops, and future movement to prevent tension on fittings. Use flexible measuring tape or a water-resistant measuring string for precise measurements.
Consider the tubing material when cutting. Copper tubing requires a tubing cutter to create a clean, square edge, ensuring proper connection and flow. Plastic tubing often works best with sharp scissors or a utility knife. After confirming the route and desired length, mark the cut line carefully, making sure it is straight and perpendicular to the tubing’s length. Avoid angled cuts, as they can weaken the seal and increase the risk of leaks.
To cut the tubing squarely, use the appropriate cutting tool for your material. Secure the tubing in place to prevent slipping. Make the cut slowly and steadily to ensure a precise, straight edge. Once cut, deburr both the inside and outside edges of the tubing to remove any burrs or sharp edges. This step ensures the tubing slides smoothly into fittings and maintains a secure, leak-proof connection. Before final installation, dry-fit the piece to double-check the length and fit. Regular cleaning prevents buildup that can clog new lines and affect ice quality.
Run the Water Line Smoothly Behind the Fridge
To run the water line smoothly behind the refrigerator, keep the tubing confined to the rear service gap rather than snaking it across the front edge or under the feet. This keeps your aesthetic tubing hidden and prevents background noise from rattling against the floor. Route the tubing in gentle curves, avoiding sharp bends that can restrict water flow. Leave 6 to 8 feet of slack so you can pull out the fridge for cleaning without stressing the line. Make sure to keep the tubing away from wiring and sharp metal brackets to prevent damage. Before pushing the refrigerator back into place, verify that the line isn’t pinched or compressed. Attach the plastic line to the braided line with tape for easy pulling behind cabinets, ensuring a smooth, unobstructed path for the water line connection. Ensure it remains clear of cabinet edges and doesn’t drag against the wall. Once these steps are complete, you’re ready to connect the water line to the refrigerator inlet.
Connect the Water Line to the Refrigerator Inlet
To connect the water line to your refrigerator inlet, locate the inlet valve at the back of the fridge, usually near the lower rear panel. Check your manual if you cannot find it there, as some models position the inlet on the side instead. Use a 1/4-inch cold water line for best compatibility, and cut it to the exact length needed to reach the inlet without tension or slack. Be sure to deburr the cut end of the line to prevent burrs from compromising the seal. The ferrule included in your kit creates a leak-tight seal when the nut is tightened, so no Teflon tape or sealant is needed for this step.
If you’re working with copper tubing, slide the compression nut and ferrule onto the tube before inserting it into the inlet fitting. Insert the supply line fully into the fitting, then hand-tighten the compression nut. Follow with a wrench to secure the connection—avoid overtightening, which can damage threads or cause leaks. Gently pull on the tubing to ensure it is seated properly. Before connecting the water to your fridge for regular use, flush the line to clear out any debris that could clog the water filter or appliance. Remove any plastic cap from the inlet before attaching the supply line to ensure a clean connection. Using a safe cleaning solution on the line components can help prevent buildup that might compromise water quality over time.
Tighten the Compression Nuts Snug, Not Overtightened
Tighten the compression nuts snugly, but not hard, to ensure a reliable seal without damaging the ferrule or tubing. The process begins with hand-tightening until you feel resistance. For metal tubing, add just a quarter turn with a wrench. For plastic tubing, use even less force. This approach seats the ferrule firmly without crushing it. You don’t need maximum torque; overtightening risks cracking the ferrule or crushing the tubing, which can lead to leaks. If you notice deformation or cracks, you’ve applied too much force. Always follow your ice maker kit’s specific turn count, as manufacturer instructions take precedence over general guidance. Relying on brute force can cause damage—stick to the recommended tightening steps for a secure, leak-free connection. If a frozen line later causes issues, you can try defrosting the water line before considering replacement. Similar to brining a turkey, keeping your setup in a clean and stable cooler can prevent contaminants from affecting the seal. Using a simple cleaning routine for your Tervis tumbler lid can help prevent buildup that might otherwise interfere with similar sealing components.
Turn the Water Back On and Check Every Connection for Leaks
Once you’ve tightened the compression nuts, turn the water supply back on slowly by opening the shutoff valve gradually. This helps to bring the line up to pressure without shocking the fittings, reducing the risk of leaks. After the water has been restored, perform leak detection carefully. Begin at the shutoff valve and the wall-side connection, checking for any signs of wetness or drips. If you notice a leak, tighten the connection gently, just enough to stop the drip—over-tightening can damage the fittings.
Next, inspect the rear refrigerator connection. Check the compression nut, ferrule, and inlet valve for moisture. Ensure the hose is fully seated without any side strain, which can cause leaks over time. Before testing, dry all fittings with a paper towel. Wrap towels around the valve and line ends and wait a few moments to see which areas become wet. This method helps locate leaks under pressure, as some leaks only become apparent once the line is pressurized. Unlike a sealed cooler, an ice maker’s water line relies on steady pressure rather than typical ice pack durations to maintain safe operation, and understanding standard cup volumes can help when calibrating ice production rates. Using safe cleaning products on the water line fittings can prevent corrosion and extend the system’s lifespan.
Recheck all connections because certain leaks may only show after the pressure stabilizes. Keep the unit pulled away from the wall during inspection to access all fittings easily. Do not push it back into place until you are sure all joints remain completely dry, ensuring a secure and leak-free connection.
Verify the Ice Maker Fills and Operates Correctly
To verify the ice maker fills and operates correctly, start by pouring approximately 4 ounces of cold water into the empty mold to initiate a test cycle. After waiting 2 to 3 hours, a successful ejection of the ice confirms the mechanism is working properly. You should also perform calibration by adjusting the fill volume and timing based on these results. For reference, Trader Joe’s cold brew contains around 150 mg of caffeine per 8-ounce serving. Using a Keurig descaling solution ensures your coffee machine remains free of mineral buildup for consistent brewing performance. If the test fails, common causes like a clogged water filter or low water pressure may be the issue.
Ensure the power cord is securely plugged in and that the control isn’t paused. After running a test cycle, a solid green light indicates no errors. To simulate full and empty bin conditions, move the feeler arm accordingly. If the unit doesn’t respond, this points to sensor troubleshooting rather than the water supply.
Finally, observe whether water enters the mold after the fill command. If the mold stays empty, the inlet valve or fill path might be blocked or malfunctioning. Clearing any obstructions or replacing faulty parts will be necessary to restore proper operation.
Coil Excess Tubing and Secure the Line Behind the Fridge
Create a loose service loop with about eight feet of extra tubing behind the fridge. Coil it in accordion-style folds near the center of the line to allow for movement when pulling out the appliance. Do not cut the tubing; leaving slack helps protect the fittings from stress and potential leaks. Avoid sharp bends or kinks, as these can restrict water flow and cause issues. If you’re using plastic tubing, install a brass stiffener at compression fittings to prevent collapse. Secure the coil with clips, ensuring it stays clear of sharp edges, heat sources, and moving parts. Position the line so it does not vibrate or rub against surfaces, which could cause wear over time. Pay attention to color coding on connectors if available; it simplifies future troubleshooting. Unlike heating water in a microwave, which can be less efficient, a dedicated appliance often provides superior performance and durability for consistent results. Maintaining a controlled, protected loop minimizes strain on fittings and reduces the risk of leaks. To further prevent leaks, always inspect the ice maker filter for proper seating after installation, as a loose filter can cause water to bypass the seal. For outdoor gatherings, a wheeled cooler offers easy transport and reliable temperature retention for beverages and ice.
Check Your Fridge Manual for Valve and Torque Limits
Check your manual for valve and torque limits before tightening any connection. Different refrigerator models require specific fitting types, and over-tightening can crack a plastic valve inlet. Never guess the appropriate torque; your manual provides precise limits, often expressed as “finger tighten” or “add a half turn with a wrench.” Manual calibration ensures a leak-free connection and prevents damage to the valve inlet.
A valve replacement may require different torque specifications than your original setup, so always double-check these details. Follow the manufacturer’s recommendations carefully to avoid distorting ferrules or stripping threads. Remember, generic plumbing torque assumptions do not apply to appliance connections. If your manual lists numerical ranges, such as 8 to 15 foot-pounds, stick to the specified range for your model. Proper tightness prevents leaks and ensures a reliable, secure ice maker line connection. For consistent home setup, also note that professional reviews of quality and performance often recommend using a thermal carafe for maintaining beverage temperature without electric heating.