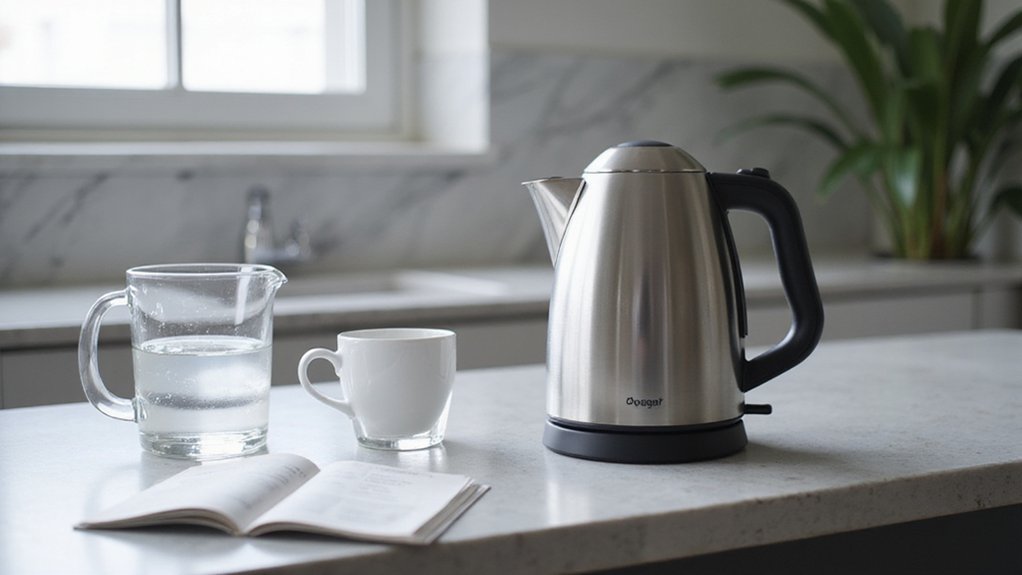
Wondering how to safely get your electric kettle up and running? A few simple steps can make all the difference in ensuring it works efficiently and lasts longer.
From inspecting the cord to proper filling and cleaning, these quick pointers will help you master your kettle and enjoy a perfect cup every time. Keep reading for the full guide to safe and effective use.
What to Check Before You Plug In Your Electric Kettle
Before plugging in your electric kettle, inspect its body, cord, plug, and base for cracks, scorch marks, frayed wiring, or loose parts. Ensure the power cord isn’t frayed and check that the plug fits securely into your outlet without wobbling. Verify that the voltage rating on the kettle matches your home supply; if it doesn’t, do not proceed with setup. Avoid using adapters if the manufacturer explicitly advises against them. Read the manual thoroughly to understand model-specific warnings, fill limits, and auto shut-off features. Place the kettle on a stable, heat-resistant surface away from sinks and areas with steam exposure. Confirm the lid closes properly and that the kettle sits correctly on its base before switching it on. Keep the cord out of reach of children and unplug the kettle when not in use. For outdoor use, consider a cooler model like a wheeled igloo to keep beverages chilled while your kettle heats up. To prevent mineral deposits from shortening your kettle’s lifespan, apply a simple cleaning routine using household vinegar or citric acid. For a perfectly chilled beverage alongside your hot tea, a dedicated machine can produce nugget ice for your cup.
How to Fill Your Kettle Without Overfilling or Underfilling
Fill your kettle to at least the minimum line to ensure the heating element stays submerged. This prevents the boil-dry safety feature from shutting the kettle off prematurely and helps avoid internal stress. Never overfill past the maximum mark, as it increases the risk of boiling over, splashing, and potential scalding. Match the water level to your needs: use the smallest mark for a single serving and fill up to just below the maximum mark for larger batches. Rely on the manufacturer’s guidelines rather than visual estimates to ensure safe and efficient operation. The same care should be applied to devices with similar heating elements, as regular cleaning prevents mineral buildup and extends equipment life. If you also need ice, consider best countertop ice makers for consistent, efficient production.
Start the Boil Safely: Set the Base First
Start by placing the kettle base on a stable, flat, dry surface—away from edges, heat sources, and moisture-sensitive materials. Proper base placement is essential for electric safety. Ensure the base sits level and secure, with no risk of tipping. Keep the top of the base completely dry, especially around the connector area. Before plugging in, make sure the kettle is seated evenly on the base and check that the power cord isn’t hanging loosely or near foot traffic. Inspect the plug and socket for any damage or scorch marks beforehand. Use only the base approved by the manufacturer to avoid compatibility issues. Keep the area free from splashes, steam, or obstructions that could interfere with venting. Give the base enough space to breathe—do not block vents or store items underneath. Verify that your kettle has boil-dry protection, and always plug into a grounded outlet rather than an ungrounded adapter. Use dry hands when handling electrical components to prevent shocks. Many paper cups are not compostable due to plastic linings, so avoid placing them near the base or steam vents. A stable, properly placed base helps prevent spills, short circuits, and accidental tip-overs before the water heats up. For consistent performance, periodically check that the connector area remains free of mineral deposits and moisture. If the base or connector shows wear, treat it like a stuck lid mechanism that requires gentle inspection and adjustment rather than forceful action to avoid further damage.
Pour Hot Water Without the Splashes or Burns
To pour hot water without splashes or burns, keep the receiving vessel close to the kettle’s spout before tilting. This reduces the distance drops fall and minimizes splashing. Rest your cup on a stable surface instead of holding it midair, and align the spout directly over the opening. Pour slowly and steadily, tilting the kettle gradually to create a controlled stream. Stop pouring before the cup is full to prevent overflow. For best results, consider applying a similar principle to coffee machines by using a descaling solution to prevent mineral buildup that can cause uneven water flow. To ensure your kettle remains at optimal performance, follow the advice from a top beverage refrigerator buyer’s guide on maintaining consistent temperature control.
For steam safety, keep your hands and face away from rising steam. Leave the kettle lid closed while pouring to avoid sudden steam release. If the water is still boiling and roiling, give the kettle a few seconds to settle before pouring. Grip the handle firmly, pour from a low height, and stay attentive to avoid distractions. After pouring, set the kettle back on its base promptly to prevent accidental spills or knocks. For extended outdoor use, consider a soft cooler with wheels to keep cold beverages on hand without constant refills.
Clean Your Electric Kettle After Every Use
After every use, promptly clean your electric kettle to maintain optimal performance and hygiene. Begin by thoroughly emptying any remaining water, as standing water can lead to mineral buildup and bacterial growth, both of which affect the taste and safety of your drinks. Rinse the interior with clean water to remove loose debris, ensuring it’s free of lime scale or residue before it dries on the surfaces. For cleaning the exterior, wipe with a damp cloth and mild soap, steering clear of abrasive pads that might scratch the finish. Remember, never submerge the base or electrical components in water, since moisture can damage the internal parts. For a similar approach to removing mineral buildup, you can use household products like white vinegar or citric acid to descale the kettle. To ensure effective cleaning, mix white vinegar with water according to the manufacturer’s guidelines. For a deeper clean, cold brew bags offer a similar principle of gentle extraction over time.
Dry the interior with a soft, dry cloth to remove moisture and prevent spots. Wipe down the outside to keep it looking pristine. Leaving the lid open after cleaning allows air to circulate, helping moisture evaporate and preventing mold. For best results, invert the kettle during drying; this helps all water drain out thoroughly. Always wait until the kettle has cooled completely before cleaning to avoid burns or damage to the materials.
Descale Your Electric Kettle in 5 Steps With Vinegar
Unplug the kettle and let it cool completely before starting the descaling process. Empty any remaining water and remove detachable parts like the lid or whistle to access the interior. Use only white distilled vinegar—avoid flavored or cleaning blends—to prevent staining or damage. Mix one part vinegar with three parts water for regular scale buildup, or use equal parts if the deposits are heavy. Fill the kettle to about one-third or halfway, staying below the maximum fill line. Boil the vinegar solution, then turn off the kettle and let it soak for 10 to 30 minutes—up to an hour for stubborn deposits. Never let the solution boil dry, as this can damage the kettle. After soaking, pour out the solution and rinse the interior thoroughly with fresh water. Boil plain water one or two times to ensure the vinegar smell is gone. Wipe the interior gently with a soft cloth, avoiding abrasive pads that could scratch the surface. If scale remains, repeat the process. To prevent future buildup, keep the kettle dry between uses. This vinegar cleaning method is similar to deep-cleaning ice cube trays with a vinegar solution.
How Often Should You Descale to Extend Kettle Life?
The ideal descaling frequency depends on your water hardness and usage. In areas with hard water, you should descale your kettle every 2 to 4 weeks. If you use your kettle daily, a monthly descaling routine is recommended. For very hard water, you might need to descale as often as every 1 to 2 weeks, especially if you notice visible white crust inside. In contrast, if your water is soft, you can extend the interval to every 2 to 3 months, possibly up to 6 months if mineral deposits remain low. Heavy use, such as boiling water multiple times a day, can require descaling every 2 months. Using filtered or softened water helps reduce mineral buildup, allowing for longer intervals between descaling sessions. A descaling solution typically contains acids that dissolve these mineral deposits without damaging the kettle. Keep an eye on your kettle for deposits—checking monthly and descaling when necessary preserves heating efficiency and extends the lifespan of your appliance. Regularly inspecting and replacing filters and seals can prevent scale-related blockages just as proper maintenance in other appliances prevents leaks after part changes. Similar to an ice maker, routine cleaning with vinegar can effectively remove scale without harsh chemicals, keeping your kettle fresh and efficient.