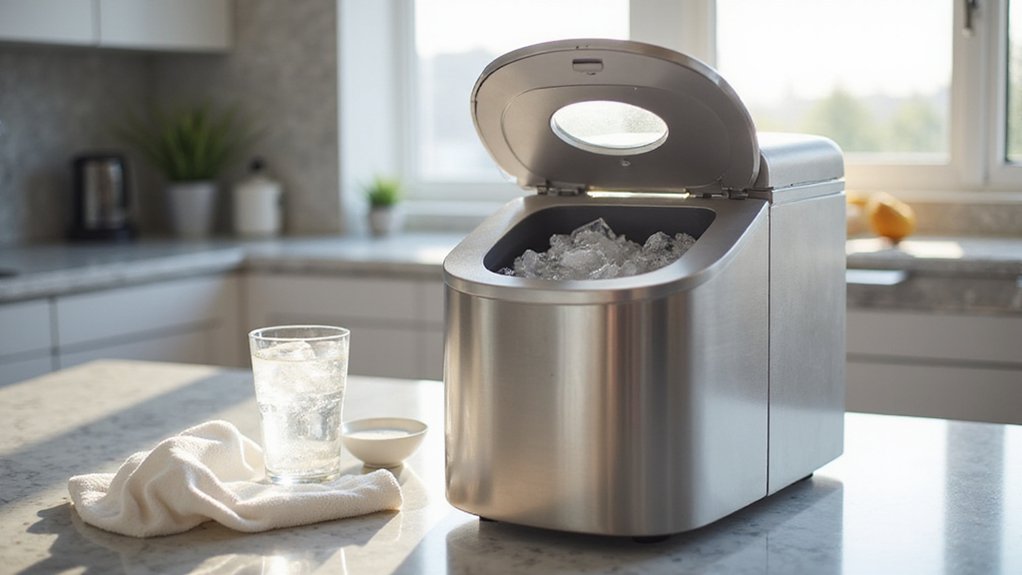
Cleaning your nugget ice maker might seem tricky, but it’s key to keeping your ice fresh and machine in top shape. Regular cleaning helps prevent mold buildup and ensures your ice stays crisp and pure.
By following a simple step-by-step process, you can easily maintain your machine and enjoy perfect nugget ice every time.
Why Cleaning Your Nugget Ice Maker Matters
Cleaning your nugget ice maker is essential because ice is classified as food, and keeping it sanitized directly impacts safety. If you neglect cleaning, mold, bacteria, and biofilm can grow inside the machine, turning it into a contamination risk. You wouldn’t serve dirty dishes, so don’t serve dirty ice—each cube could compromise user safety. Regular cleaning also reduces long-term maintenance costs. Scale and mineral buildup force components to work harder and can cause premature breakdowns, leading to expensive repairs. Additionally, unclean ice can develop off-flavors, like metallic or musty tastes, which ruin the taste of your drinks. Visible residue, odors, and discoloration make the appliance unappealing and suggest it’s overdue for a cleanup. Choosing a model that prioritizes quality, performance, and value can simplify maintenance and ensure longer-lasting freshness. For a similar approach to enhancing flavor and purity, a wine carafe can also benefit from routine sanitation. Experts recommend cleaning every six months for commercial units, though heavy use may require more frequent attention. By establishing a routine cleaning schedule, you safeguard your health, maintain optimal machine performance, and save money over time.
Step 1: Unplug, Drain, and Remove All Parts
First, unplug the machine, then drain the water and remove all parts. Turn off the unit and hold the plug head to disconnect the power cord safely, which prevents electrical shock. Remove all ice from the bin and use your model’s drain cap or tube to drain the reservoir. Position the unit above a sink and wait until it’s fully empty before reinserting the drain plug. You should use a mild cleaning solution to wipe the interior surfaces during regular maintenance.
Next, take out all removable components such as the drip tray, ice basket, ice scoop, and any drain hose assembly. Consult your manual for specific parts like the reservoir cover, as they may vary by model. Set these parts aside for cleaning separately. For best results, this same thorough approach is recommended for daily use of similar appliances to maintain performance. A clean unit consistently produces fresh, clear ice that complements any kitchen setup.
Step 2: Wipe Down the Exterior and Removable Pieces
After unplugging and disassembling your nugget ice maker, wipe down the exterior and removable pieces. Use a soft, damp cloth with mild dish soap—avoid abrasive cleaners or harsh chemicals that could scratch the surface or leave residues. Gently clean the cabinet, door, and gasket, paying attention to areas frequently touched. For removable components like the ice bin, basket, scoop, and drip tray, wash them in warm, soapy water. Use a sponge or small brush to loosen any residue, then rinse thoroughly to ensure no soap remains. If you encounter persistent errors, consulting the reset process can resolve common operational issues. Organize these parts properly during cleaning to keep track of them. Allow everything to air-dry completely or buff dry with a clean cloth before reassembling. Regular descaling with a dedicated solution helps prevent mineral buildup, and choosing a top-rated ice maker ensures long-term performance and value. Only reassemble when fully dry to prevent odors and mold growth, as all components must be thoroughly dried before reassembly for mold prevention. Regularly following this cleaning routine helps keep your machine hygienic and functioning smoothly. Remember, descaling solution is a separate step to perform later.
Step 3: Run the Nugget Ice Maker’s Descaling Cycle
After the exterior and removable pieces are clean and dry, you can proceed to descale the internal components. Start by removing all ice from the machine and draining any standing water from the reservoir. If your model requires it, unplug the unit or take out the ice scoop beforehand. Fill the reservoir with the recommended descaling solution, which could be either a food-grade ice maker cleaner or hot vinegar, depending on your machine’s instructions. To initiate the cycle, press and hold the clean button for about three seconds. The descaling process may circulate the solution for up to 30 minutes, and blinking lights will indicate that it is active. Regularly performing this step is essential because poor water quality can cause scale buildup, which affects ice production and machine efficiency. If your ice maker’s water line freezes due to low temperatures, quick fixes like using a hairdryer on a low setting can help restore water flow without damaging components. Completing the full descaling cycle before moving on ensures your Nugget Ice Maker stays in top shape. If you are using vinegar, filling the reservoir to the maximum fill line ensures thorough cleaning of the internal components. Proper maintenance tasks like this are as important as knowing the correct coffee-to-water ratio for brew consistency. For this reason, it is also recommended to wipe down the exterior of the unit with a damp cloth at least once a week to prevent dust and residue buildup.
Step 4: Scrub the Reservoir and Ice Mold for Scale
After the descaling cycle finishes and you drain the reservoir, thoroughly scrub away the loosened mineral scale from the reservoir walls and floor using a soft brush or cloth. Focus especially on seams and corners, where mineral deposits tend to hide and accumulate. Avoid abrasive pads, as they can scratch plastic and make future buildup worse. Next, wipe the channels and water-contact areas of the ice mold with the same cloth or a toothbrush, targeting the white chalky residue. If deposits feel stubborn, let your vinegar solution sit on them for 15 to 20 minutes to soften before scrubbing again. Keep an eye on water quality—poor water often means you’ll need to clean more frequently—so inspect these surfaces carefully each time. Note that if your ice maker’s water flows through a filter, this can reduce mineral buildup, but it is still important to check whether the filter is bypassed during cleaning. After scrubbing, drain the reservoir again and rinse it thoroughly with fresh water until no cleaner residue remains. To prevent water spots and mineral buildup, consider air drying the trays thoroughly before reassembling the ice maker. To further slow future scale formation, regularly applying a simple cleaning routine to all water-contact surfaces can help.
Step 5: Sanitize With Bleach and Rinse Thoroughly
To sanitize your ice maker, use a bleach solution of 1 teaspoon of unscented household bleach per 5 cups of water. Fill the reservoir with this mixture up to the fill line, then circulate it through the system. Let it sit for at least 2 minutes to ensure thorough contact time, following your machine’s instructions.
After disinfecting, drain the solution completely. Run two full rinse cycles with fresh water to thoroughly flush out any bleach residue. This step is essential because leftover bleach can affect the taste and odor of your ice. For eco-friendly options, you can consider alternatives like white vinegar or hydrogen peroxide if your manufacturer approves, but never mix bleach with other cleaners. Always stick to the recommended concentrations for safety and discard any test ice produced from the first batch.
Step 6: Dry Everything, Refill, and Test a Cycle
Once you’ve finished sanitizing and rinsing, it’s essential to dry everything thoroughly before reassembling and testing the machine. Use a soft cloth to wipe all removable parts completely dry, including the interior and the water reservoir. Leaving the lid open allows moisture to air dry, which helps prevent mold and odors from developing. Only reassemble the drain cap and bins once all parts are completely dry to avoid trapping moisture inside. For a fun alternative, you can also use slushie syrup made from simple ingredients to create flavored ice.
Next, refill the water reservoir with fresh water up to the MAX line. Plug the unit back in and run a test ice-making cycle. Monitor the process for consistent water flow and check for leaks. Discard the first batch of ice—residual cleaner or impurities may still be present. Ensure the ice produced is clear and tastes clean. Proper drying and testing safeguard your machine’s efficiency and help maintain any applicable warranty coverage. If you notice issues such as leaks or poor ice quality, repeat the rinse cycle before regular use.
Maintenance Tips to Extend Your Ice Maker’s Life
For ice storage, clean your ice bin and baskets regularly with warm, mild detergent to prevent contamination. Descaling the unit once a month is recommended, or every 3 to 6 months if you use softer water. Regular descaling prevents mineral deposits from clogging internal parts and improves performance. After descaling, it is important to vacuum the condenser to remove dust and pet hair for optimal airflow. For those wondering about the type of ice used in commercial settings, Sonic’s preferred nugget ice is popular for its chewable texture and rapid cooling. Similarly, cleaning the Owala tumbler lid with white vinegar helps prevent mineral buildup and keeps the seal fresh.
Don’t forget the air filter; inspect it monthly to ensure good airflow. When storing the machine, drain all water and dry interior surfaces thoroughly to avoid moisture damage. Always unplug the unit before any maintenance to prevent electric hazards. Lastly, avoid using abrasive cleaners, as they can scratch and damage internal components, reducing your ice maker’s lifespan. Using a thermal carafe for storing brewed coffee provides similar benefits of temperature retention and durability that complement your ice maker’s performance.
How Often Should You Deep-Clean a Nugget Ice Maker?
The ideal deep-clean frequency for a nugget ice maker depends on your usage and water quality. If you use your unit heavily, aim to clean it at least once a week. Many models, such as the GE Profile Opal, recommend weekly cleaning to maintain optimal performance and ice quality. For those with hard water, more frequent descaling—every 2 to 3 weeks—is necessary to prevent mineral buildup and preserve ice flavor. Using distilled water allows you to extend cleaning intervals to about once a month.
If your usage is light and the water quality is good, deep-cleaning every 2 to 3 months should suffice. Standalone units often require cleaning every 3 to 6 months, depending on factors like mineral deposits or visible scale. Keep an eye on cleaning indicators if your model has them, and be attentive to off tastes or visible buildup, which signal it’s time for cleaning sooner. Always consult your ice maker’s manual for precise recommendations tailored to your specific model. For those who frequently travel with their ice maker, storing it in a top cooler backpack can help protect the unit and simplify transport during cleaning maintenance.