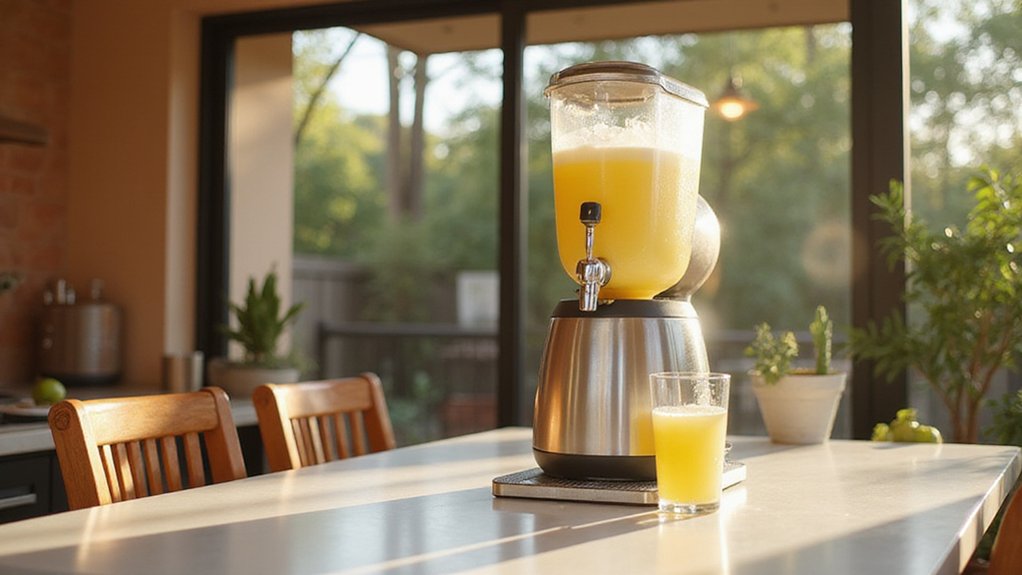
If you’re wondering how to get your Margaritaville Margarita Machine ready for a party, you’re in the right place. Using it correctly ensures your drinks come out perfectly chilled and refreshing every time.
From prepping the ice and mixes to securing all parts, you’ll learn the simple steps to set it up and keep it clean.
Let’s dive into how to make your margaritas just right.
Before You Plug In: What to Set Up First
Before plugging in your appliance, remove the cord storage door using the release tab. Fully pull out the power cord, then replace the door. Ensure the cord is positioned in the designated slot to prevent pinching or damage. Use a grounded, dedicated 120-volt outlet, avoiding outlets shared with other appliances to prevent electrical issues. If you need an extension cord, choose one no longer than 10 feet to minimize power loss and maintain safety. Similarly, maintaining cleanliness is critical, as commercial ice machines require regular cleaning every three to six months to prevent slime and bacteria buildup. You might also consider crafting custom wooden coasters for your drink station to protect surfaces from condensation.
Check that all appliance accessories, such as the blending jar and ice reservoir, are clean, dry, and free from damage. Remove any packaging materials and verify that all parts are properly assembled. Keep the power switch turned off until you are completely ready to operate the appliance. Reviewing the manual specific to your model can help ensure correct setup and prevent common mistakes. For optimal quality and value, consider using best paper cups with lids for serving drinks.
Which Ice and Mixes Work Best for Your Margaritaville Machine
Using the right ice and mix is key to achieving the perfect frozen drink with your Margaritaville machine. Opt for solid ice cubes instead of standard crushed ice, as uniform cubes feed smoothly into the machine and produce a consistent, creamy texture. Let these cubes sit out for 10 to 15 minutes prior to loading; this dries the surface slightly and helps prevent clogging. When it comes to the liquid, always use pre-chilled margarita or daiquiri mixes. Classic flavors such as strawberry daiquiri mix work particularly well. Maintain a ratio of about one part ice to two parts liquid for optimal consistency. Too much thick or pulpy ingredients without enough liquid can result in a dry, overly thick blend. Use the machine’s preset categories for your drink type to ensure the right texture and frosty quality every time. For easy transport of your ingredients, consider a pink cooler with wheels to keep your ice and mixes cold while you work. The machine’s automatic shave-and-blend cycle ensures smooth texture by processing ice and ingredients together. For convenience, a tumbler with handle helps you securely pour and serve the finished frozen drink without slipping. To refine the final texture further, a brief hard shaking technique after blending can help incorporate any remaining ice shards for a silkier mouthfeel.
How to Load the Machine and Lock All Parts Into Place
To load the machine and lock all parts into place, follow these steps carefully. First, remove the ice reservoir lid and then set the reservoir onto the unit. Fill it with ice cubes only up to the marked fill line—overfilling can cause malfunctions. For twist-lock models, turn the reservoir counterclockwise to lock it securely; for quick-start models, close the top and turn it clockwise a quarter turn. Make sure the reservoir doesn’t wobble and sits flush against the machine. Avoid adding ice before the reservoir is properly positioned, as this can lead to spills or jammed components. For those who prefer crushed ice, consider a dedicated unit like a nugget ice maker to ensure optimal chilling without overloading the machine. This approach helps replicate the commercial-grade consistency found in top frozen drink machines for home enjoyment. For reference, a standard red solo cup holds exactly 16 fluid ounces to the brim, which can help you gauge batch sizes when filling the drink chamber.
Maintaining the reservoir’s seal after loading is essential for proper operation. Next, place the drink chamber securely into the base, seal its lid tightly, and verify that the blending blade ring fits correctly. Check all lock points—these include the reservoir, chamber lid, and blending components—to ensure everything is secure before powering on. Never operate the machine with any part loose or improperly fastened, as that can cause damage or safety hazards.
How to Select the Right Margaritaville Drink Setting for Your Recipe
Select the correct drink setting on your Margaritaville machine before blending. For a classic frozen margarita, choose the “margarita” or “ritas” setting; this matches the drink type rather than the garnish. If you’re working with a fruit-heavy recipe or substituting ingredients to boost fruit flavor, the smoothie setting may be more appropriate. For layered or dessert-style frozen drinks, opt for the slide setting if your model offers it. For consistent results, ensure your ingredients are stored at the optimal temperature, much like choosing a glass door refrigerator for proper beverage display and cooling. The grind consistency of your ice is essential to achieving the right texture, much like selecting the proper burr grinder for a uniform coffee grind.
Set the number of drinks or the drink level—options include 1, 2, or 3 drinks, or a half or full chamber—in accordance with your serving size. This adjustment controls the shave-and-blend cycle, ensuring proper texture and consistency. Using the correct setting enhances flavor customization, whether you’re making a spirit-forward mixture or a fruit-dominant blend. Check your machine’s manual for the exact labels and available options. Maintaining the proper temperature and consistency also mirrors the importance of thermal carafe quality in keeping brewed coffee hot without a heating plate.
How to Adjust Thickness and Sweetness While Blending
To adjust thickness and sweetness while blending, start by setting your desired texture first. If your drink is too thick, add more liquid or reduce ice. For a thicker consistency, increase the amount of ice or use frozen ingredients. Once the texture feels right, tweak the sweetness. You can add more simple syrup or agave nectar for a sweeter flavor, or reduce them if you prefer a sharper profile. Mix sweeteners into your liquid base before blending to ensure even distribution. Keep in mind that adding more ice can mask sweetness, so a thicker blend might need a touch more sweetener. Conversely, a thinner drink tends to taste sweeter because flavor isn’t as diluted. Make small adjustments—start with your base ratio, fine-tune texture first, then modify sweetness—to achieve your perfect blend. For consistent results, the machine uses a two-step process of ice shaving and blending. Choosing a high-quality serving method, like durable coasters, can prevent condensation from diluting your carefully balanced drink. To maintain consistent performance, regularly clean the machine’s blades and chambers to prevent coffee bean residue buildup from affecting flavor.
After the Blend: What to Do Next for a Perfect Pour
Once your blended margarita is ready, transferring it properly is key to a perfect pour. Start by removing the blending jar from the base and take off the lid. If your machine has a self-dispensing feature, press your glass against the lever to dispense. Keep the machine steady and level throughout to prevent spills. Pour promptly to preserve the frozen texture; delays cause the drink to soften and separate, ruining the consistency.
Prepare your glass beforehand—chilled, salt-rimmed glasses are ideal. When pouring, use a steady, controlled motion to maintain an even slush. For multiple servings, fill each glass one at a time instead of filling many at once, which gives you better control and ensures each drink stays perfectly chilled. Avoid overfilling to prevent spills or foam overflow.
After pouring, it’s best to add garnishes like lime wedges or orange slices. Place them after the drink is in the glass to keep the frozen texture intact and let the garnish enhance the presentation without interfering with the pour. Serve immediately for the best coldness and consistency.
How to Clean Your Margaritaville After Each Use
After you’ve enjoyed your margarita, cleaning your Margaritaville machine right away is essential for maintenance. Unplug the unit first for safety. Remove and empty the ice reservoir and blending jar immediately to prevent sticky buildup. Wash all removable parts with warm water and mild dish soap using a soft sponge to reach seams and seals. Soak stubborn residue if needed, but avoid harsh chemicals that could damage the surfaces. For the lid, pay special attention to the gasket and spout area, as they require deep-clean steps to remove hidden mold or residue. Rinse everything thoroughly until the water runs clear—residual soap can affect your next drink’s flavor. Air-dry all parts completely before reassembling; never put wet parts back in. Wipe the exterior base with a damp cloth, keeping liquid away from the motor housing, then dry everything with a clean towel. You should also avoid harsh chemicals like bleach or abrasive cleaners, as recommended in general slushie machine maintenance guidelines. Following these cleaning routines helps prevent gunk and ensures your machine stays in top working condition. Store it only after all parts are dry and properly reassembled.
When and How to Run a Deep Cleaning Vinegar Cycle
To run a deep cleaning vinegar cycle, start by unplugging your machine. Reassemble the jar and fill it halfway with a solution of either a 50/50 mix of white vinegar and warm water for heavy scale or a milder ratio of 1 part vinegar to 3 parts water for lighter descaling. Run the blend cycle for 30 seconds to 5 minutes to ensure the solution circulates through all interior passages. Discard the mixture immediately afterward. Next, thoroughly rinse the chamber with clean water and run a plain water cycle for at least 30 seconds to remove any vinegar residue and eliminate off odors. Repeat the rinsing process until no vinegar smell remains. Keep in mind that frequent vinegar use can weaken rubber seals, so always consult your device’s manual to determine the best cleaning schedule and avoid damage. To prevent buildup in hard-to-reach internal parts, fully disassemble and clean all components as described in the initial disassembly process. For precise measurements, use a quick conversion chart to determine the correct vinegar-to-water ratios for your specific machine capacity. Using a Boston cocktail shaker technique for the initial rinse can help dislodge stubborn debris from narrow passages. If the jar becomes stuck after reassembly, you can apply gentle heat from warm water to the metal rim to break the seal.
Where to Store Your Machine So It Stays Ready for the Next Party
Always store your machine only after it is completely dry. Rinse and air-dry shaving blades thoroughly to prevent rust or odors from developing. Use the cord storage feature to avoid tangling, and keep removable parts together for quick setup next time. For dust protection, consider covering the unit with a dedicated cover or placing it inside an enclosed cabinet. Choose a stable, easily accessible spot that is out of children’s reach. Dry, cool storage areas help reduce wear on the machine and ensure it stays ready for the next party. For additional style and functionality, you can also store the machine alongside a glass carafe with lid to keep your serving pieces coordinated and protected.