Want to make smooth, refreshing cold brew at home but not sure where to start? The process is simpler than you might think. With just a few steps, you’ll have a rich, chilled coffee ready to enjoy.
By understanding the right grind size, ratios, and steeping times, you can craft your perfect batch. Keep reading for easy beginner instructions to get you brewing like a pro.
Choose the Best Coffee-to-Water Ratio for Beginners
Starting with a 1:8 coffee-to-water ratio by weight is ideal for beginners. This ratio provides a balanced, versatile concentrate that showcases coffee flavor without being too strong or weak. Using this proportion ensures consistency, especially when measuring by weight, which is more reliable than volume. It also gives you a solid foundation to experiment from once you get comfortable. You can later adjust the strength by diluting the concentrate before serving, with common options being equal parts water, milk, or ice to create a smooth drink. For a lighter, softer beverage, try a 1:2 dilution. Sticking to this ratio until you find your preferred intensity helps avoid over- or under-extracting your brew. When you’re ready to explore further, options range from a lighter 1:10 or 1:12 for ready-to-drink cups, to a concentrated 1:4 for a bold brew. Just remember, do not change the ratio mid-batch; match it to your desired serving style from the start for the best results. For consistent results, consider using a brewer with a thermal carafe to keep your batch fresh and at the ideal temperature without a hot plate. Just as you would replace a water filter in an ice maker to maintain clean water, using filtered water for your cold brew ensures the purest flavor. Using a nugget ice maker can provide the perfect chill for your finished cold brew without diluting it too quickly.
How to Grind Coffee Beans for Smooth Cold Brew
Use a burr grinder set to its coarsest setting to produce uniform particles. Blade grinders tend to generate inconsistent grounds filled with fines—tiny particles that can make your brew cloudy and bitter. Your grounds should look chunky and gritty, not powdery or dusty, which indicates a proper coarse grind.
Inspect your grounds on a white plate; if you see a lot of dust or clumps, it’s too fine. Grinding immediately before brewing guarantees maximum freshness and flavor. Coarse, consistent particles lead to a clean, smooth concentrate with minimal sediment, making your cold brew enjoyable and free of gritty residue. To keep your equipment functioning well, follow a simple cleaning routine to prevent buildup that could affect flavor. When measuring your cold brew concentrate, it is helpful to know exactly how many cups are in a standard shot to avoid common errors. When customizing your setup, you might draw inspiration from crafting custom paper cups to choose a suitable vessel for your cold brew.
Load Your Cold Brew Maker the Right Way
To load your cold brew maker correctly, start by measuring your coffee grounds to the manufacturer’s specified capacity—whether that’s a fill line, scoop chart, or a set gram weight. This ensures you don’t overload the chamber and compromise the intended concentrate strength. Spread the grounds evenly in the filter basket; a level bed guarantees uniform water flow, which maximizes coffee freshness and extraction.
Pour cold water slowly in a circular motion to evenly saturate all the grounds, avoiding dry pockets that can lead to uneven brewing. Always use filtered cold water; since cold brew relies on consistent cold temperatures, hot water is off-limits. Distribute the water carefully without mounding or packing the grounds—just a gentle, even pour. For precise control, you can use a jigger to measure water amounts, as it offers accurate pouring for small volumes. Fill the chamber up to the max fill line, then give the grounds a moment to absorb some water before adding more if needed. Proper loading prevents overflow and promotes even steeping, resulting in a richer, more balanced cold brew. Using a consistent grind size also helps prevent clogging the filter and ensures smooth extraction. Just as with a commercial ice machine, regularly cleaning your cold brew maker’s components prevents residue buildup that can taint future batches.
How Long Should You Steep Cold Brew?
Steeping your cold brew for 12 to 24 hours is optimal for a well-extracted, flavorful concentrate. Generally, a minimum of 12 hours is necessary to develop enough extraction to avoid a weak or underwhelming taste. Too short a steep leaves the coffee underwhelming, while going beyond 24 hours risks introducing bitter, woody flavors. For a smooth balance, aim for around 16 to 18 hours.
Temperature influences steeping time: brewing at room temperature typically takes 12 to 16 hours, whereas refrigerated brewing requires 16 to 24 hours. Additionally, grind size and roast level matter; coarser grinds and lighter roasts need longer steep times, while darker roasts extract more quickly. Start with 12 to 16 hours, then taste and adjust your steeping duration in small increments to find your perfect flavor profile.
Filtering and Storing Your Cold Brew
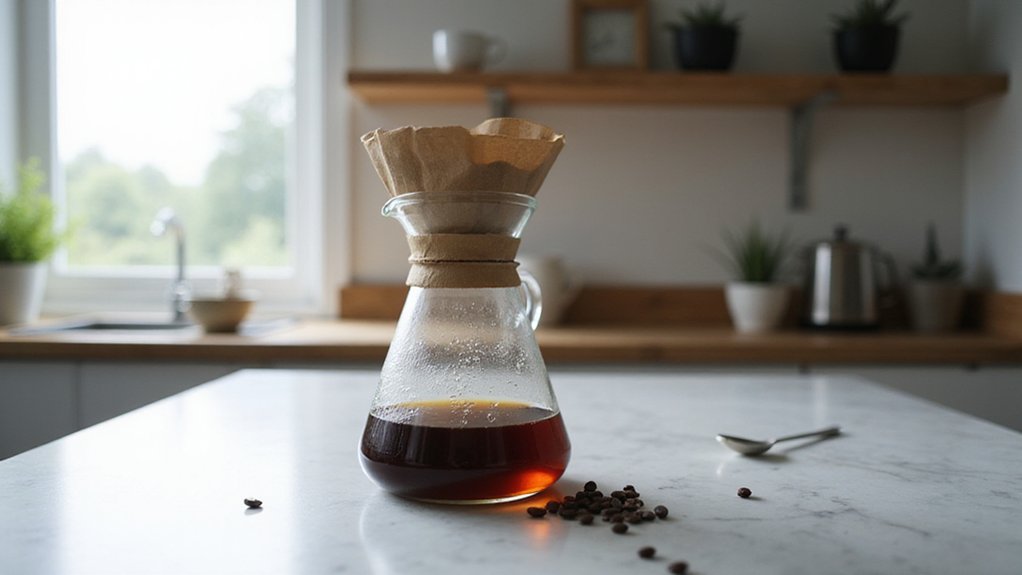
After steeping, you need to filter and store your cold brew quickly to preserve its flavor. Choose your filtration method based on your preferences: a paper filter produces the clearest coffee by removing most oils and tiny sediment, while a mesh filter is faster but leaves more micro-grit. For the best clarity, consider a two-step process—first use a mesh filter, then pass it through a paper filter. Filtering immediately helps prevent over-extraction, which can make the coffee taste bitter. For similar reasons, electric kettles allow precise temperature control to avoid overheating and bitterness in other beverages. This precision comes from built-in thermostats that shut off power once the water reaches a set temperature. Many cold brew enthusiasts also appreciate the convenience of having water coolers with ice makers nearby for quickly chilling their filtered concentrate.
After filtering, transfer the concentrate to airtight storage containers—preferably glass or stainless steel—since these materials are non-reactive. Select dark or opaque containers to block light and slow oxidation, and minimize headspace to further preserve freshness. Seal the containers tightly and store them in the refrigerator at 40°F or below. Proper storage keeps your cold brew fresh for 7 to 14 days, with quality typically peaking within the first few days.
How to Dilute and Serve Cold Brew Concentrate
To dilute your cold brew concentrate correctly, start with a ratio of 1 part concentrate to 1 part water or milk for a balanced flavor. Adjust based on your preference: go to 1:2 for a creamier, milk-heavy drink or 1:3 for a lighter, more refreshing cup. When pairing with ice, remember that melting ice dilutes your beverage faster, so begin with a slightly stronger concentrate if you plan to serve it over a full glass of ice. Pre-chill your concentrate to minimize melting and keep the drink cold without watering it down too quickly. Taste as you dilute—more water results in a cleaner, lighter cup, while less water gives a richer, heavier body. Using water keeps the flavor straightforward, while milk softens bitterness and adds creaminess. For cocktails, a more diluted ratio like 1:6 works well, creating a versatile base that can be adjusted depending on the drink style. A typical Brita pitcher holds about 10 cups of water, which is useful for measuring your dilution water in daily use.